A fringer is a quilling tool that fringes paper strips for you.
What we have widely available in the market are the metal fringers that cut either 90 degrees or 45 degrees. I have a metal 90 degree fringer and it took a bit to learn how to use it. Plus its tedious and my fingers do tire fringing with the metal fringers. There are scissors that also fringe - so you have a variety of tools out there.
However Jonathan hit on a crucial issue with these existing fringers. They were tedious to use and a little hard on the hands as its a repetitive motion of pushing the handle down. It was especially hard on older hands. And there was also the safety factor. I would never let my 10 year old touch the metal fringer i have. However he was able to use this fringer easily. By himself. He infact enjoyed using this to help me with my fringed flowers.
Jonathan graciously asked me to review this fringer as he hopes to make this readily available in the US.
Along with the fringer i got a free pack of beautiful graduated quilling paper. This paper is truly beautiful with the graduation creating a wonderful pop.
The blue flower below uses one of the graduated papers as the center. The rest of the flowers also used fringed centers and i love the effect.


The fringer comes with instructions and a little tool that helps you adjust the width of the paper cut and the length.
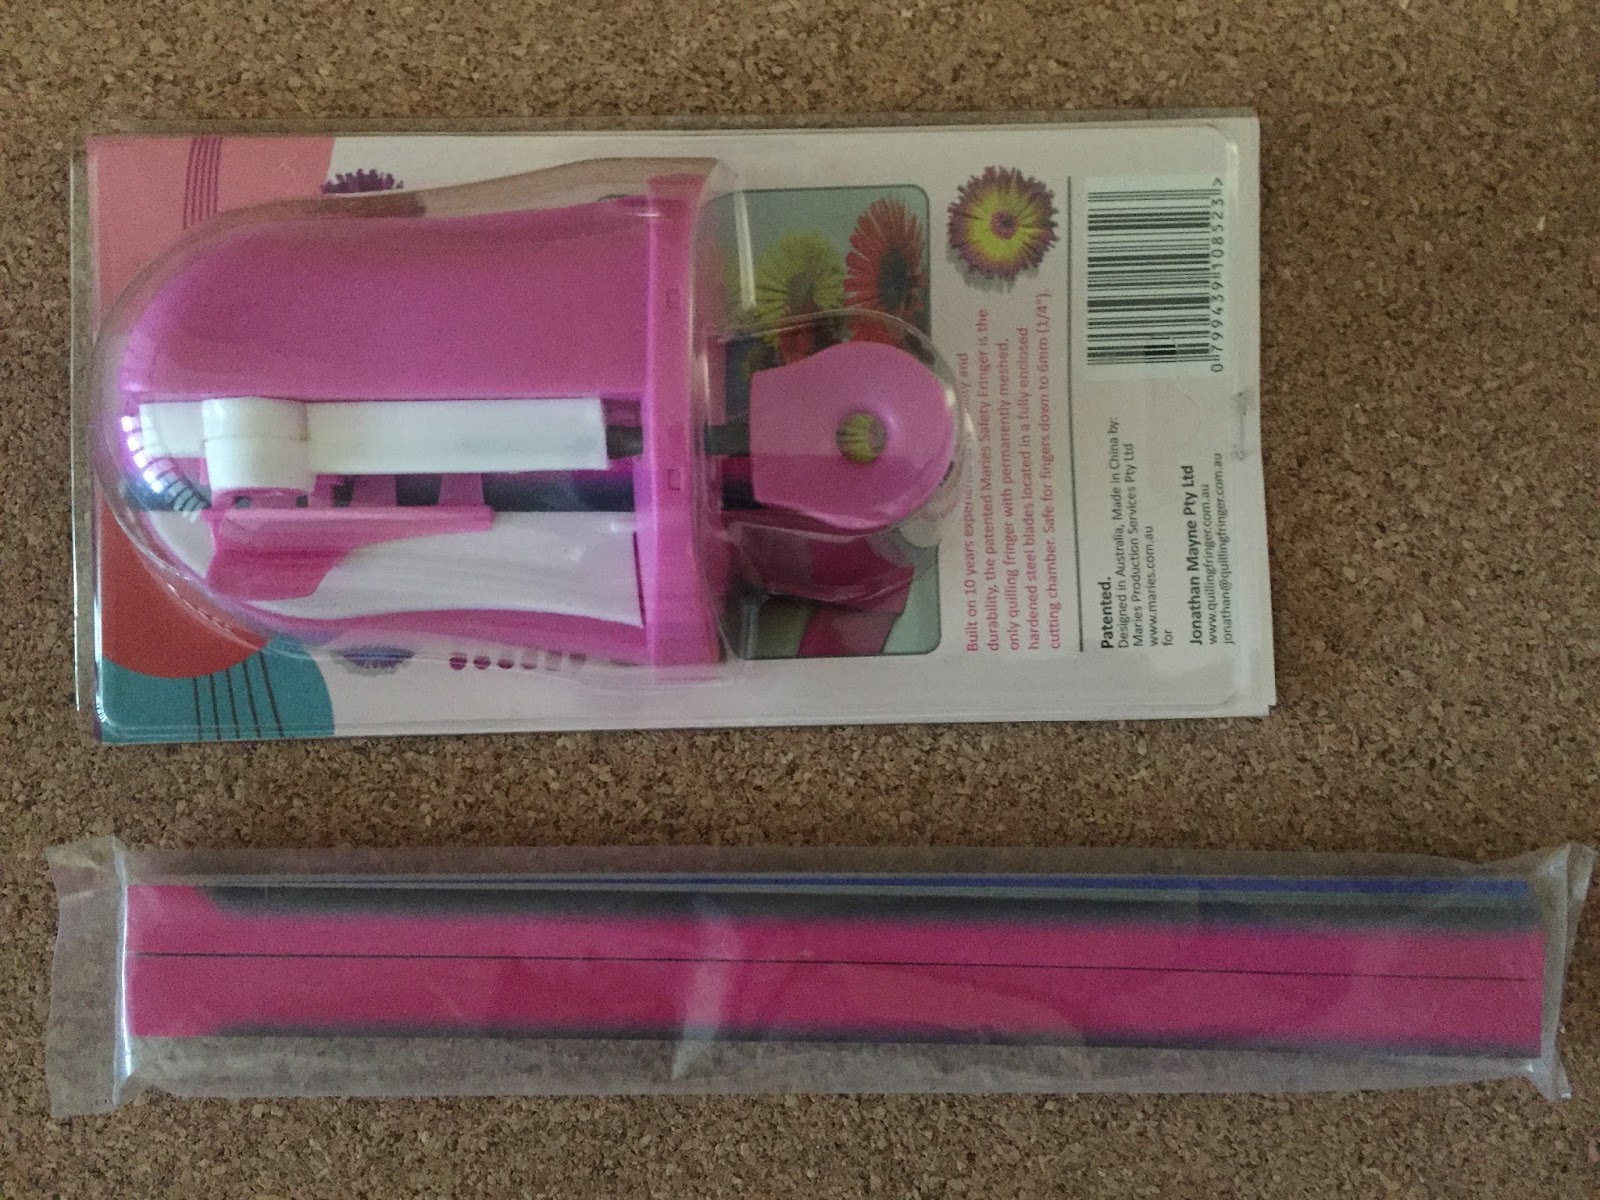
The fringer came with a graduated paper strip in it partially fringed, which made it easy to understand how to insert the quilling paper to fringe.

I tried 3 different widths of paper ranging from 1/4" to 3/4"

1/4" paper fringed

The key points were that the paper strip has to be straight with no ridges or folds when you feed it into the fringer. That way the paper glides in without too much of difficulty. As with all new things you have to get used to smoothly gliding in the paper by adjusting the paper guide levers correctly. You have to slide the paper guide - the pink levers in the picture - to fit the paper width you place in.
Once you have the paper in place - you start fringing. You instantly notice you don't have to press too hard to fringe. Which is a big advantage for young hands and old hands alike.
This shows the difference when you adjust the distance between the cuts. I did not make too much of a difference between the cuts.

This shows the difference when you adjust the length of each cut

Once i got the idea of how to make the adjustments - it got easier. The hex screw being easy to manipulate. I only wish there were the + and - marks on the tool itself. That would have taken away the guess work.
The 1/4" and the 1/2" papers worked well.
I did have a problem with the 3/4" papers. I am not sure if it was that the paper was not exactly the size it should have been. These are all pre cut papers i got so it wasn't me messing up the paper width
The 3/4" paper would not go in smoothly - it was a tad bit too wide. So i did mess up the strip.


But other than that - it worked like a breeze, and i really likes the light weight and ease of use part. Definitely highly recommend this fringer. And i totally LOVE the graduated paper.
I am making a big quilled piece with my flowers - and ALL of them have my fringed centers.
Thank you Jonathan for giving me the opportunity to review your wonderful product.
PROS
- Simple to use
- light weight
- Safe for kids
- handle is easy to press
- pleasing to look at
CONS
- - and + markings on the fringer would help in figuring out which way to turn the hex screw to adjust the cuts.
- Plastic makes it easier to use, but you have to be careful not to break the paper guide. Gentle touch
- It was hard to glide in paper that was 3/4"
WHERE ITS AVAILABLE:
The safety fringer is not widely available yet, but there are still several places where you can find one.Please visit Jonathan's site and take a look at his fringer as well as the paper he offers.


